![]() USU
››
Programs for business automation
››
Program for clinic
››
Instructions for the medical program
››
USU
››
Programs for business automation
››
Program for clinic
››
Instructions for the medical program
››

Modern technologies allow most studies to be supported by illustrations. Often they are even more informative than the verbal description. That is why the ability to add images to medical forms is so important. Next, we will tell you exactly how you can add an illustration to your clinic forms. These can be the results of an ultrasound examination of the abdominal cavity or heart, and diagrams of the visual fields, and much more. The program is quite flexible in this respect. Everything will depend on the profile of your company. The medical form with the image will be exactly the way you set it up. The picture in the medical form is also easily customizable.
So, you have decided to introduce adding illustrations to the form. Where to begin?
![]() The doctor has the opportunity not only to upload the finished picture, but also to create the desired image for the medical history.
The doctor has the opportunity not only to upload the finished picture, but also to create the desired image for the medical history.
Let's see how the desired picture can be displayed in a medical form.
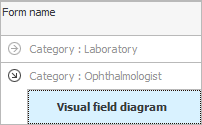
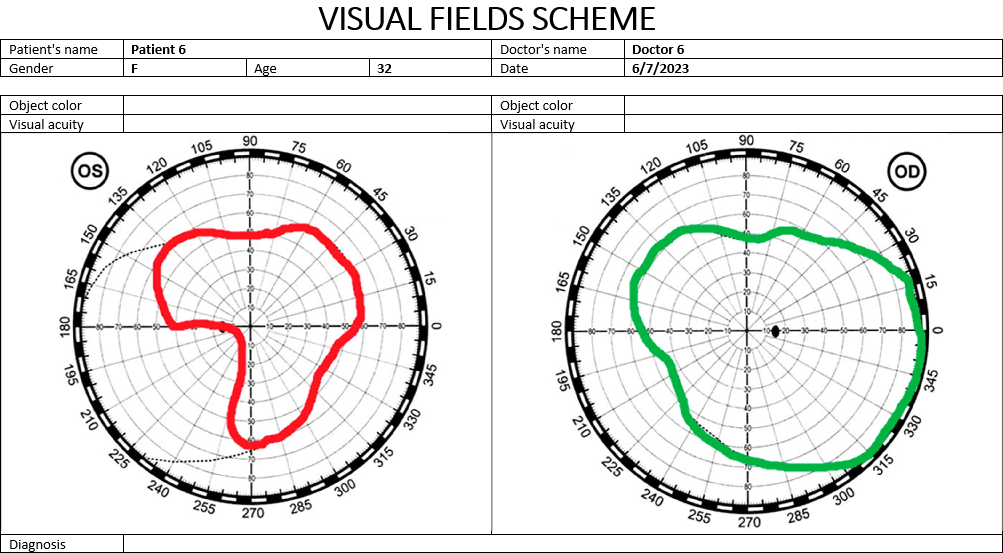
First, the required ' Microsoft Word ' format document must be added as a template in the directory "Forms" . In our example, this will be the ophthalmic document ' Visual Field Diagram '.
![]() We have already described in detail how to create a document template .
We have already described in detail how to create a document template .
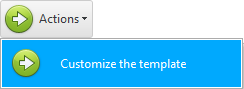
After adding a new document to the table, at the top click on the command "Template customization" .
The template will open.

![]() It has automatically filled fields about the patient and the doctor, which are marked with tabs.
It has automatically filled fields about the patient and the doctor, which are marked with tabs.
![]() There is a field for specifying a diagnosis, which can be selected by the doctor from his templates .
There is a field for specifying a diagnosis, which can be selected by the doctor from his templates .
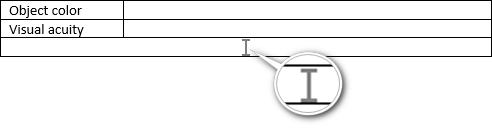
The fields ' Object color ' and ' Visual acuity ' for each eye will be filled in manually without templates.
But now we are most interested in the question: how to add images to this form? The images themselves have already been created by a medical professional and are in the medical history.
Previously, you have already looked at the list of possible values for substitution in a medical document. But now there is a special situation. When we edit the form of the service to which the images are linked , they can also be inserted into the document template. To do this, when editing a template in the lower right corner in the list of blanks, find a group that begins with the word ' PHOTOS '.
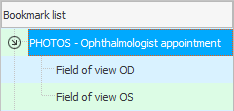
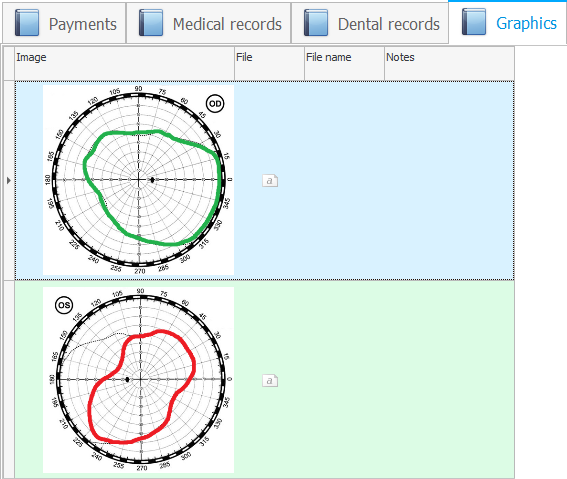
Now position yourself in the document where you want the image to be inserted. In our case, these are two similar pictures - one for each eye. Each image will be inserted below the ' Visual acuity ' field. Double-click on the bottom right of the name of the desired image to add a bookmark to the document.
Please note that the alignment in the image cell is set to ' Center '. Therefore, the bookmark icon is displayed exactly in the center of the table cell.
The height of this cell in the template is small, you do not need to increase it in advance. When inserting an image, the height of the cell will automatically increase to fit the size of the inserted image.

Let's make an appointment with a doctor for the required service to make sure that the linked images are displayed in the generated form.
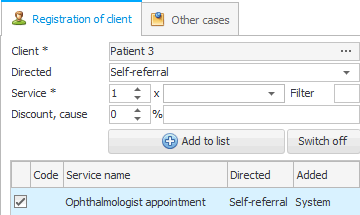
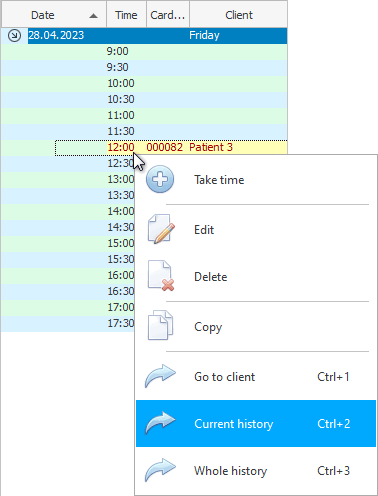
Go to your current medical history.
The selected service will appear at the top of the patient's medical history.

And at the bottom of the tab "Form" you will see the previously configured medical document. "His status" indicates that while the document is waiting to be filled.

To fill it out, click on the action at the top "Fill in the form" .
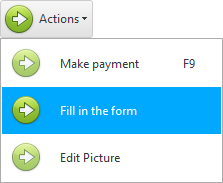
That's all! The program itself filled out the form, including the necessary images in it.
Images are taken from the tab "Files" who in the medical history are on the same service as "fillable form" .

![]() There is a great opportunity to insert entire documents into the form .
There is a great opportunity to insert entire documents into the form .
See below for other helpful topics:
![]()
Universal Accounting System
2010 - 2026
 Download the program with interactive training