![]() USU
››
Programs for business automation
››
Program for clinic
››
Instructions for the medical program
››
USU
››
Programs for business automation
››
Program for clinic
››
Instructions for the medical program
››

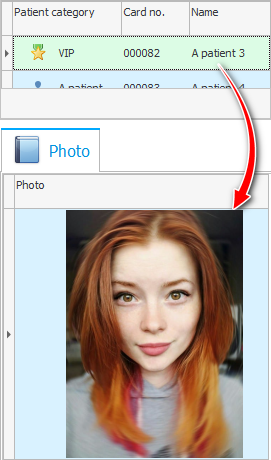
To each "client" you can add one or more "images" . You can upload image files and capture images from a webcam. First, in the upper part of the window, we select the desired client with one click of the mouse, then we can upload a photo for him from the bottom.
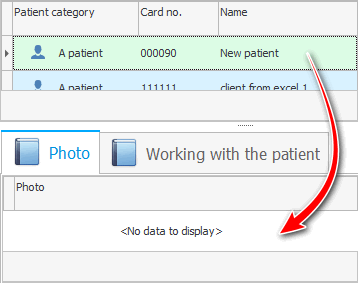
In the demo version, all patients already have a photo. Therefore, it is better to add a new account at the top of the window first.
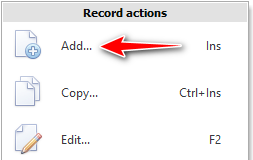
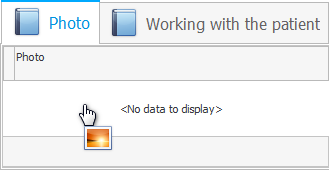
Then, in the same way, in the lower part of the window, right-click and select the command Add .
Then on the field "Photo" you need to click again with the right mouse button to select the option from where you will take the picture.
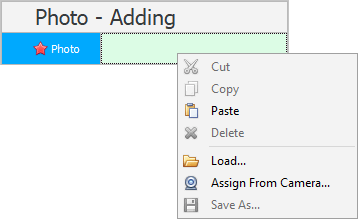
The ' Load ' command can load an image from a file.
The ' Paste ' command will paste the picture from the clipboard if you have previously copied it as an image and not as a file.
There's even a team that will ' Camera Capture' if you're armed with a webcam and intend to quickly grab and use a new photo right away.
Other commands that currently appear inactive in the image can be used after you upload a patient photo using any of the methods described above.
The ' Cut ' command will remove the current image after saving it to the clipboard.
The ' Copy ' command will copy the current image so that it can be used later in different graphics programs.
The ' Delete ' command will remove the current image.
The ' Save As ' command will allow you to unload the image from the database into a graphic file.
Upload a photo using any of the methods described above.
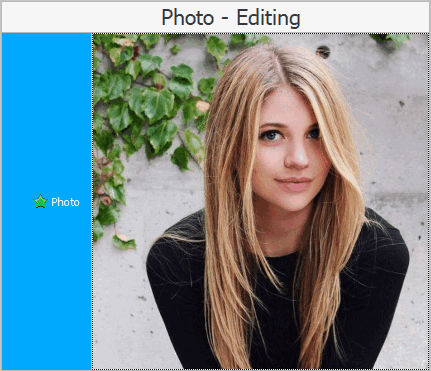
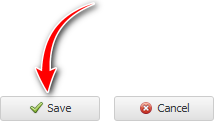
When the image is uploaded, don't forget to click the button "Save" .
The selected client now has an image.

There is also a universal method that works in the case of "image" in a submodule . This method allows you to very quickly assign a picture to a client if you already have his photo as a file.
You can use the mouse to drag the desired file to the bottom of the window from the standard program ' Explorer '.

If the developers of the ' USU ' program implement a field for you to order , where you can upload not only a picture, but also a file of any other type for archival storage. Then it will also be possible to drag files into such tables directly from the ' Explorer ' program.

![]() Whatever method you use to upload images to the database, see how you can view these images in the future.
Whatever method you use to upload images to the database, see how you can view these images in the future.
See below for other helpful topics:
![]()
Universal Accounting System
2010 - 2026
 Download the program with interactive training