![]() USU
››
Programs for business automation
››
Program for clinic
››
Instructions for the medical program
››
USU
››
Programs for business automation
››
Program for clinic
››
Instructions for the medical program
››

In addition to folding and stretching scrolls , which are "this certificate" And "user's menu" , they can still be interestingly rearranged.
Also note that the window "technical support" is also a scroll. Everything described below can also be applied to it.
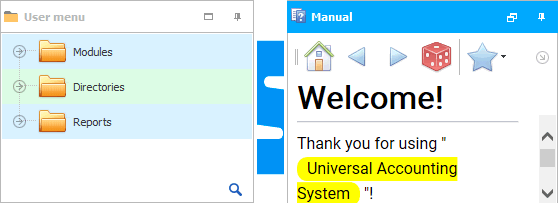
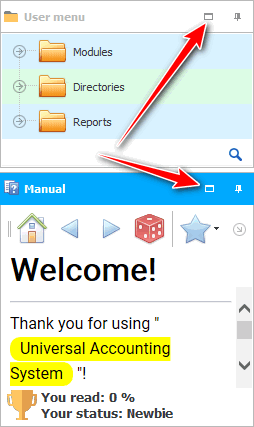
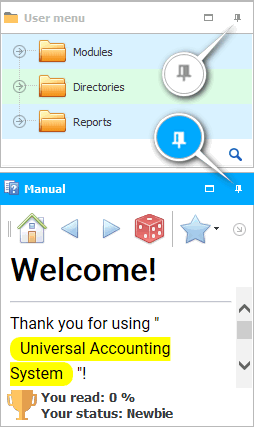
So, what is a minimized Windows window? Now let's figure it out. Initially, the scrolls are located on opposite sides of each other: the menu is on the left, and the instructions are on the right.
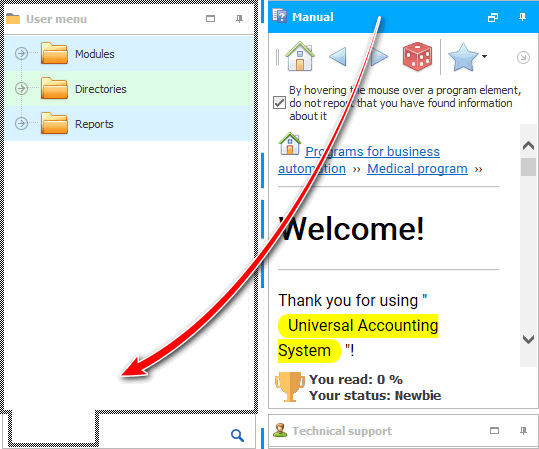
But you can grab any scroll by its title and drag it to the side of another scroll. Let's drag the instruction to the left. If you drag the instruction and move the cursor to the bottom of the "custom menu" , you will select the area in which the instruction scroll will be moved to.
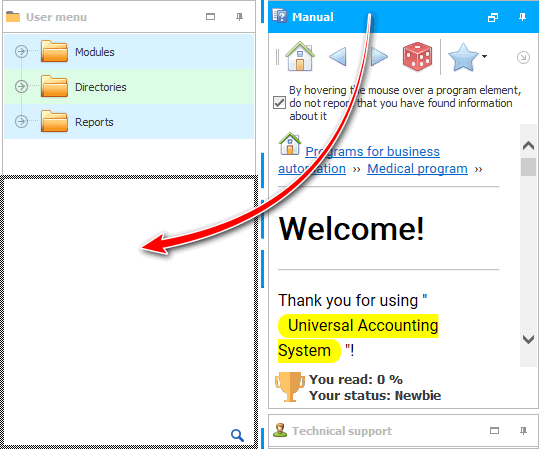
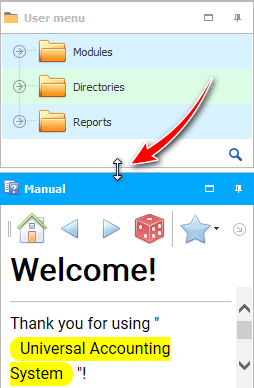
If you release the mouse button now, the instruction will be neatly under "custom menu" .
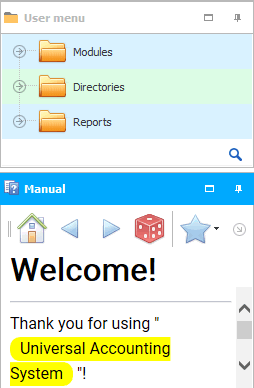
Now these two scrolls occupy the same area. The benefit of such a change in the layout of the windows is that now the program has freed up space on the right and, when working with large tables that have many fields, more information will fall into the viewable area. And the loss is that now there is half as much space left for information inside these scrolls.

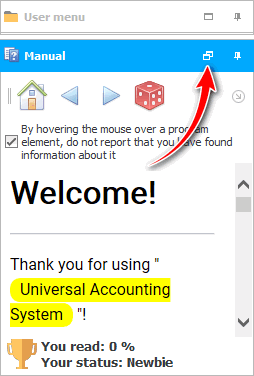
But now the scrolls have a button that allows you to expand each of them to the entire area.
For example, unfolding a statement when we use it. And, on the contrary, we expand the menu when we need to enter some table.

You can also, without expanding to the entire area, grab between the scrolls with the mouse and drag the separator, changing the size in favor of the most important scroll.

When the instruction is expanded to the entire area, instead of the ' Expand ' button, the ' Restore size ' button appears.
You can also roll both scrolls.
And then just move the mouse over the desired scroll to open it.
Now let's expand the scrolls again on different sides, so that later we can connect them not as separate windows, but as separate tabs.
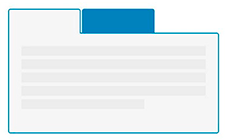
Image while dragging "scroll of instructions" to the scroll "custom menu" will be something like this if you 'aim' not at the bottom border of the user menu , but at its center. As you can see, the outline of the tab is drawn.
The result will be a common area for both scrolls. To work with the desired scroll, simply click on its tab first. This option is more preferable if you actively use only one scroll, and the second is very rarely needed.

There are a lot of layout options for working with scrolls, since the ' USU ' program is professional. But we will now return to the original version, when the scrolls are separated in different directions. This will allow you to actively work with both the user menu and this manual at the same time.
See below for other helpful topics:
![]()
Universal Accounting System
2010 - 2026
 Download the program with interactive training